Wednesday, August 28, 2013

Cauliflower Alfredo Sauce

I pinned this recipe a little while back on Pinterest, and finally tried it out. I have to say, I'm very happy with it!


My husband is extremely picky when it comes to vegetables. He is a meat and potatoes kind of guy! He really only likes onions and peppers. He will eat a garden salad, but only with lots of dressing on it. As for broccoli, cauliflower, corn, carrots, peas, beans and all that good stuff... Forget it!  Sometimes I can get away with mixing them in with other things, but if the pieces are big enough, he'll pick them out. So when I found this recipe for a cauliflower sauce that supposedly tasted very similar to real Alfredo sauce I thought I had to give it a try. Guess what?! Hubby ate it!!! 

The recipe calls for vegetable stock or water, and unfortunately I didn't have veggie stock so had to use just water. I did find that it resulted in a slightly bland sauce and that was my husbands only comment, but I am positive it would taste all the more better if the stock was used instead. The fact that my husbands only comment was that it was on the bland side, and not "Yuk, that tastes like cauliflower!" is a huge win in my books!! So needless to say, I will be making it again and I will be sure to have vegetable stock on hand. 

I made fettuccini noodles and cooked cubed chicken to eat with this sauce. After my 21 month old daughter ate her helping, I asked if she wanted more, she shook her head no but kept scraping her spoon on her plate and licking the sauce off that she collected. So I grabbed a small bowl and put some of the left over sauce in it, and she ate it by the spoonfuls! Double win! Extra vegetable helpings, I'll take it! She won't eat chunks of cooked cauliflower, not that she doesn't like the taste, but I think she just doesn't like the look so refuses to try it. Since I know she'll eat this sauce, I saved the leftovers and plan on mixing it in with macaroni and cheese to make it more healthy. 


I can't wait to try some more recipes out to use with this sauce! There are more meal ideas on this blog. Check it out!

Monday, August 19, 2013

Fried Rice and Chicken

Hello everyone!
I've been sick for a week with a nasty cold, unfortunately, my daughter has been too. So on top of feeling crumby myself, I've had to deal with a cranky toddler too. Not fun! I was having a crappy weekend, I was so grumpy and so OVER being sick but each day was worse than the last. There seems to be no end to this cold. Since I'm pregnant I can't take any medication, so having no quick fixes added to my pity party. Having no immune system from being pregnant doesn't help either!

I've been drinking hot water with lemon to sooth my throat and having some tea. Little Monkey has been getting straight juice to increase her vitamin C intake. I usually water down her juice when she gets any, but this week she gets full strength! 

Anyway, I kept reminding myself that I was in charge of my emotions and could choose to be happy, but it wasn't working! Haha! I'm in better spirits today though.

I have another recipe to share.... Fried rice with chicken. It's very simple to make and the beautiful thing about this recipe is you can change it up so easily by substituting different vegetables, or using beef instead of chicken, or not adding meat at all. Adding more veggies to make it a full meal or keeping it simple for a side dish.

4 cups cold cooked rice
4 tablespoons soy sauce
1 clove garlic, minced (optional)
2 tablespoons thinly sliced green onion
2 cups cooked and cubed chicken (optional)
2 cups cooked veggies (optional)
2 tablespoons neutral oil, such as vegetable or canola 

Heat a wok or large non-stick skillet over high heat.
When oil starts to "shimmer", turn the heat to medium-high.
If using garlic and/or green onions add to oil now and stir.
Add chicken and vegetables if using and mix well.
Quickly add rice and continue to stir until rice is separated and coated with oil or mixed evenly with chicken and veggies.
Sprinkle soy sauce over rice and stir until distributed well throughout rice.


Monday, August 12, 2013

Loop Baby Toy

I feel like I should apologize for all my crochet craft posts! I'm just so obsessed with this art form that its been the only crafting I've been doing lately. I'd like to say I'll be trying out some different crafts soon but from now until Christmas, I'll be busy crocheting. Between Christmas gifts and items for the new baby, I have a long list of patterns I want to get done!

Here is a quick baby toy I made up for a friends new baby. She has supported my crocheting by buying a lot of booties and other baby items so I wanted to give her something to open up for baby when I visited her in the hospital. She had kept baby's sex a secret, so when she announced the arrival of her baby boy, I needed something I could make quickly in boy colors so I could take it to the hospital that day. 


If you'd like to make this baby toy, follow the link to the pattern.

Tuesday, August 6, 2013

Almond Sugar Cookies

One of the lovely blogs a follow posted about these cookies. It's a rainy day here and I'm babysitting, so while the kids played and kept each other busy,  I figured I'd try them out.


They turned out wonderfully. They have a lovely taste with a hint of almond extract.

I had to alter the recipe because I did not have cake flour or shortening. Instead I used all butter when it called for butter and shortening and all-purpose flour in place of the cake flour. I also didn't have raw sugar so I rolled the cookies in regular granulated sugar. Worked perfectly!

Check out the recipe here  if you want to try them out for yourselves. I'm sure you won't be disappointed if you do!
 
Both kids are napping right now so I get some time to myself to blog and indulge on fresh cookies! Ha ha. 

Life is good!


Saturday, August 3, 2013

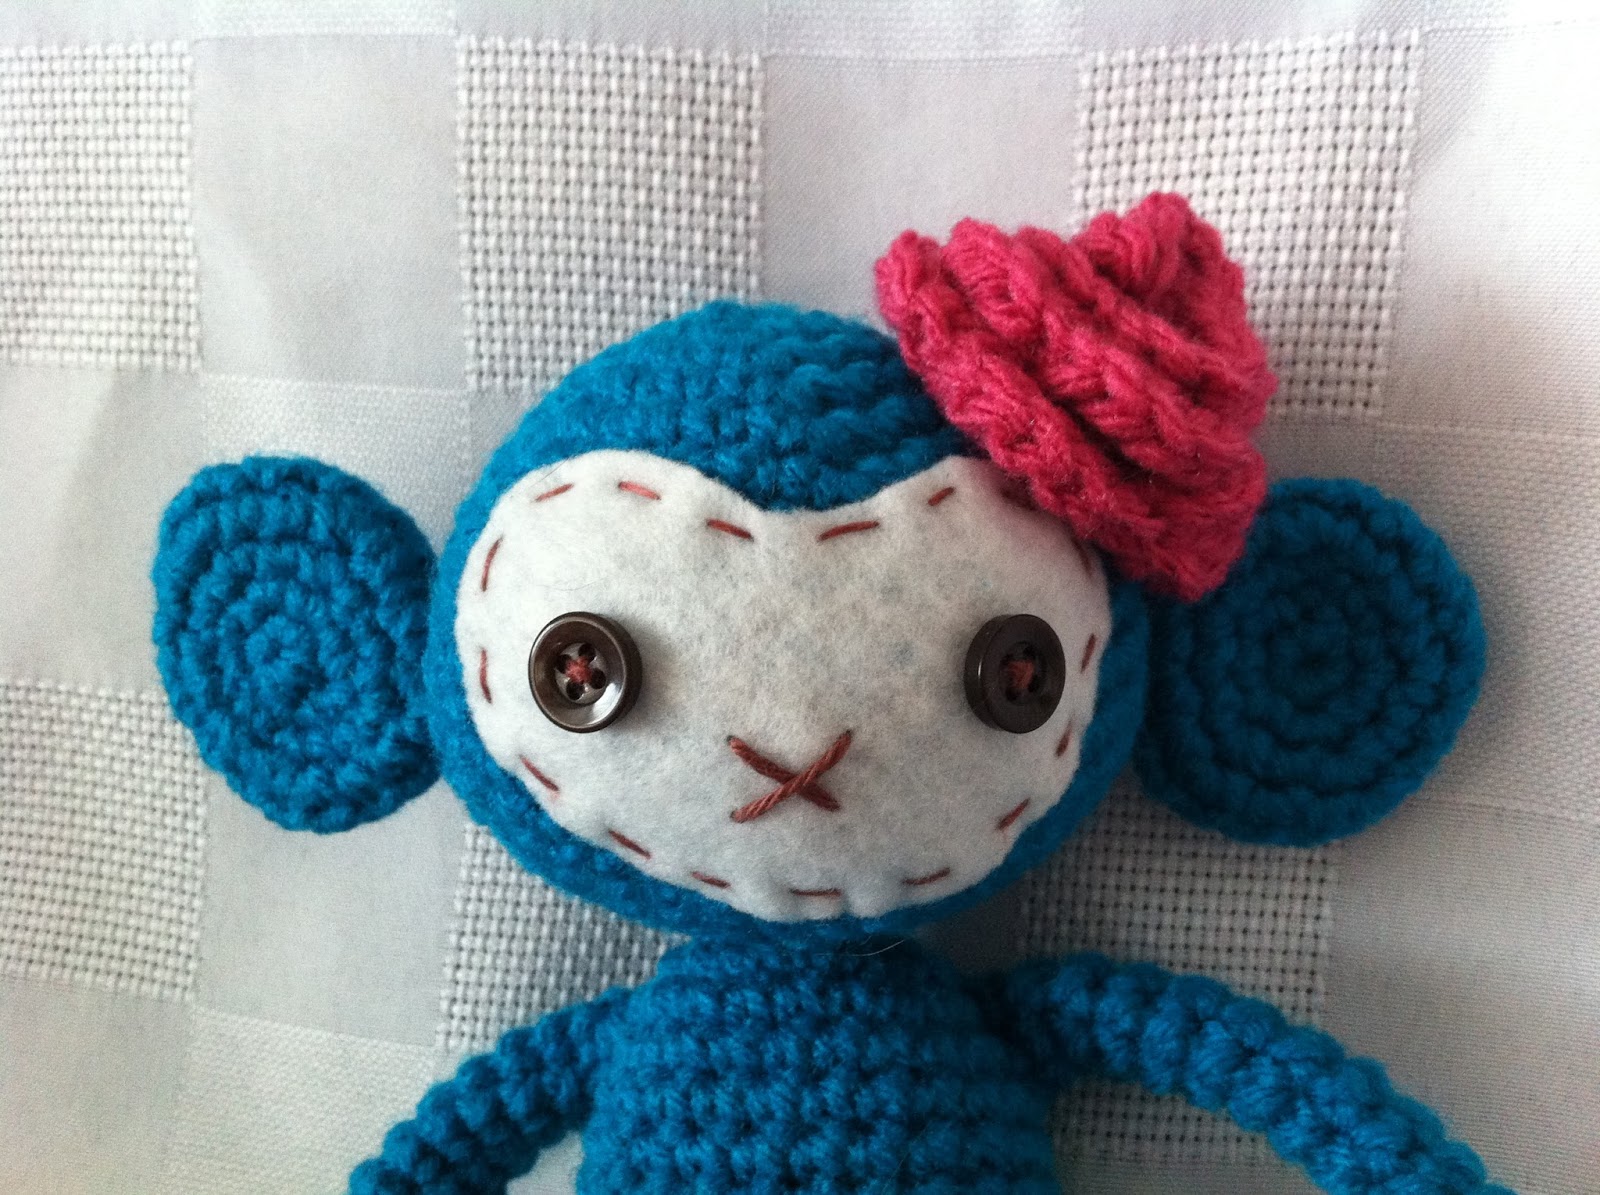
Monkey Love!

I finally got around to making the monkey from the same pattern as the doll I made recently. If you missed that post, you can check it out here!

I had wanted to make the monkey in a deep pink yarn, but didn't think I had enough of it, and didn't want to run out mid-project. So I looked through my yarn stash and decided to go with this bright deep blue. It seemed to have a bit of a shimmer to it, so I thought it would look very cute.


I made a small rosette to add a pop of pink. It ended up being a little too big for my liking, but its not too bad.


I still want to make an all pink one, so I'll have to do that after I get more of the pink yarn. I am going to give this fun monkey to my daughter for her 2nd birthday. She caught a glimpse of it when I finished it and already wanted to play with it. I'm hoping after its put away in a closet for a few months she'll forget about it and still be surprised on her birthday!
 
 
Have a great long weekend everyone!


Monday, July 29, 2013

Banana Muffins

I'm a little behind on the blog again. I had family visit all last week so I focused on visiting instead of blogging. My little monkey sure had fun playing with her cousins! She was pretty upset after they left and the house fell quiet.

Since I haven't posted anything lately I thought I would just share a quick recipe. This is my go to recipe for banana muffins. You can find it in the Company's Coming book, The Rookie Cook.

I had mentioned to my husband yesterday that I was planning on making banana muffins. I didn't end up getting to it, so when the evening hit and hubby asked where the muffins were, he was a little disappointed that there weren't any! (Ooops!) He has to put in a few long days at work, so I decided today that I would get them made and that way when he gets home he will have a treat, and he can take some to work the next couple days too. I don't normally put chocolate chips in my banana muffins, but figured I'd add them this time to make them more special for hubby. He isn't a fan of bananas but doesn't mind them in muffins, and adding chocolate into the muffins is a definite bonus for him!


This recipe can be made into a Banana Cake, or muffins.

-margarine or butter, softened    1/2 cup
-granulated sugar                        1 1/4 cups
-Large eggs                                  2
-vanilla                                          1 tsp

-all-purpose flour                          2 cups
-baking powder                           2 1/2 tsp
-baking soda                                1/2 tsp
-salt                                              1/4 tsp

-mashed banana                          about 3 medium ( 1 1/2 cups)

Cream margarine, sugar, eggs and vanilla together in large bowl until light and fluffy.

Combine flour, baking powder, baking soda and salt in medium bowl.

Add flour mixture to margarine mixture in 3 additions, alternating with banana in 2 additions, beginning and ending with flour mixture. Beat on low until batter is smooth. 

FOR CAKE- Turn into 2 greased 8 inch round pans. Bake in 350F oven for25 mins until wooden pick inserted in center comes out clean. Cool in pans for 5 mins before turning out onto wire racks to cool. Makes one 2 layer cake. Cuts into 16 wedges.

FOR MUFFINS- Fill muffin cups 3/4 fulll. Bake in 350F oven for 15 to 17 mins until wooden pick inserted in center of muffin comes out clean. (I have found it takes about 25 mins for them to be completely cooked) Cool in pan for 5 mins before removing to wire racks to cool. Makes 2 dozen muffins.

Optional- If you want to add chocolate chips, mix in 3/4 package of your favourite chocolate chips before baking.


Tuesday, July 16, 2013

Doll Love!

I have started making some of my Christmas presents early this year. Firstly, because we are expecting our second baby in December (Yay!). I know I'll be super busy as the end of the year draws near so I'd like to get as many done as possible before I start stressing about time limits. Secondly, because I have to send some to Australia and my step sister will be going over there in a few months, so I'd like to send them with her and skip the large postage fees! Lol

I was looking for doll patterns to make for my daughter and found a few that looked good. I was really excited to try one in particular, and once I started it I became OBSESSED with the pattern! Not only does this pattern make an adorable doll but it can also be made into monkeys, bunnies, bears or cats! And it was SO FUN to work up. I seriously want to try all the variations and different colors of each! I'm eager to make the monkey next, I think it would be super cute in hot pink! If you're curious about what I'm talking about then head on over to this amazing blog and check it out.

Here is my finished doll...


There was even a link to a free pattern for the reversible dress. I just whipped it up in about 10 minutes. It's not the best sewing work ever, but I was trying to get it done quickly so I could share this little doll project with you all.
 I am over the moon excited for Little Monkey to open it up at Christmas. She already loves her toy babies so I think she's going to like this too! I'm so happy I have a little girl to make these fun gifts for!