Monday, May 8, 2017

Ficus Benjamina Adventures

Hello Lovely readers! It's Monday and I'm in a great mood! Those two things don't seem to belong in the same sentence. Lol!
Our family had a great day yesterday. Our friends from back home were on vacation and just over an hour away so we drove up and got to hang out all afternoon. It was very refreshing to be able to hang out again and chat and let the kids play. It was a little hard getting the kids up this morning, they were so played out! But our hearts are full and the sun is shining. 

I've decided to do an experiment and try propagating my Ficus Benjamina. (Better known as a weeping fig.) There were a few branches starting to grow out pretty long on the sides. I do want her to get fuller, but these random branches looked silly on the sides. I am letting the top branches get longer so she can look bigger.

I have never tried propagating anything before so I am half expecting my experiment to fail. But if I never try then I'll never get it right. I wanted to trim the branches anyway, so it's not a real loss if the trimmings don't root.
I cut off 3 branches of new growth approximately 5 inches long. I removed all the leaves except the top 2 and have placed them in cups of water. They will sit on my counter beside my South facing window so they can get bright indirect light. 


I read some instructions that said they should take a few weeks to start growing roots. I will have to change the water every 5 days or so.
I might also experiment further and make a terrarium type of setup to put 1 in to see if it will root faster. The warmth and humidity is supposed to accelerate the process. But I will have to be careful and keep watch that it doesn't get moldy.


I'm excited to see if this works! Wish me luck! 😀

Tuesday, April 25, 2017

Painting

Happy Tuesday everyone! 

I'm just checking in quick with an update on the house work. I've been slowly getting some painting done. The color the contractor put on the walls did not work at all with the dark maple trim. It was called ghost grey but against the brown it pulled out too much of a beige color instead of grey. 
Sorry for my poor photography skills, taking a picture of a wall with a huge window letting in a bunch of light just makes the wall look really dark. I hope you can get an idea of what the color looked like. (In hindsight, I should have closed the blinds)

I've picked the color Rainwashed from Sherwin Williams to replace that boring color! I started with one wall. Waited a couple days and then decided to finish all the walls in the kitchen area. It's been a few weeks since then but I just finished the rest of this back wall leading into the living room. 


I've left the ladder out because I'm hoping to get the rest tackled in a few days. Our house is open concept so I'm trying to decide where to stop this color. The outside corners are also rounded and I am not convinced I want to change colors on an edge. I think that might look weird. But I also know I don't want this color leading down to the entryway. 

Also, can you tell how much shorter the ladder is then my vaulted ceiling?! That was a bit sketchy painting the peak of that wall. Haha. I had to ignore the warning on the step where it says "do not stand on this step or above".

Some days it feels like it's taking forever to make this house a home. But life is busy with little kids, so we'll just keep working away at it slowly when we can find the time.

Hope you all have a great week! 

Friday, April 7, 2017

Entry Way

Hello everyone. I wanted to share with you all the first project my husband and I have finished for our new house. Our entry way bench. I love love Love how this turned out. My original plan was to upholster an old coffee table to use as a bench but our entrance is quite big and we were worried a small bench would get swallowed up in the space. So we decided on a built-in. 

I wanted a clean looking bench with no leg braces so my husband built a frame for it to sit on and securely mounted it to the wall. He built the bench and added the sides and back to give it the built-in look. The shelf was made with different pieces of baseboard and crown molding and regular pine wood. 

We removed a piece of our maple trim and took it to a paint store to have it matched. This took a few days  but we wanted it to flow seamlessly with the rest of the trim throughout the house. I sanded it all down and stained it!

Next was the chevron accent wall between the bench and shelf. I calculated the width I wanted the stripes to be and drew the pattern on the wall. Once I calculated the length of wood I needed I headed to our local lumber store to see what would work for the space. I found screen moulding to be the perfect width. 

My husband set up the saw at the right angle and I went to work cutting and nailing the molding to the wall on my drawn out pattern. Once it was all up I filled in the nail holes and every place the molding met. The edges on screen molding are curved so it left gaps where they joined up. Once the wood filler dried up I painted it all white. 

I marked out where I wanted the hooks and my husband drilled the holes for me. 

Here are some pictures of the entrance way. I'm not done the other half of the room so these pictures only show one area.
The wreath and baskets are from Canadian Tire

Rug from HomeSence

Planter from Canadian Tire. Jade plant from Home Depot

I picked up these wire cages from a local green house.

I made the pillow from an old shirt I had. The color matched the rug perfectly.

These hooks are from IKEA.

The Mass Cane plant is from Home Depot. 

The entrance is the first thing you see when you enter a house so I think it sets the feel for the home. I think ours is shaping up to be warm and inviting. I can't wait to finish the rest of the room!

Wednesday, March 22, 2017

Bread!

I've been making my own bread for awhile now. We have a 12 grain bread recipe that my husband makes every so often, but this bread is my every day go to recipe. It's super simple and you can adjust it to your own preference for white/brown ratio. I make it 50% whole wheat. This way my kids still eat it and I feel a bit better that it's healthier. 

We really like bread in this house. We go through a loaf per week at least! This recipe makes 2 loaves so I freeze the 2nd one until we need it.

Ingredients:
- 6 cups flour (3 whole wheat, 3 white)
- 2 1/2 cups hot water (from the tap)
- 1 1/2 Tbsp instant yeast
- 1/3 cup honey
- 1/3 cup oil (I like Olive oil)
- 2 1/2 tsp salt

Directions:
Combine water, yeast & 2 cups flour.
 Let sit 15 minutes to sponge.
 Add honey, oil, salt & 4 cups flour. Mix until dough starts to clean the sides of the bowl. Knead 6 to 7 minutes.
 Form into 2 loaves and place into greased 9x5" pans.

 Allow to rise in a warm place for 60 minutes. Dough should be 1/2 to  1" above pans. (I preheat my oven to 175F then shut it off and let dough rise in the oven)
 Bake for 30 minutes in 350F oven.
 Immediately remove from pans to cool on a rack.

This bread smells amazing and tastes great! If you don't have a mixer, go ahead and make it by hand. You will just need to increase your kneading time by a few minutes.  

Enjoy!

Wednesday, March 15, 2017

DIY Picture Frame Update

I bought these pictures roughly 11 years ago. While I still like the actual pictures themselves, they don't go with the style I'm trying to decorate our house with. I decided to experiment a bit to see if I could give them a more rustic charm.


It's not the best before picture. Sun was shining through the blinds, but you get the idea. They were black frames. 

I put two coats of white paint on, not worrying too much about brush strokes or uneven areas as the next step is distressing the paint.


I used a medium grit sand paper and scuffed up the edges of the frame and some of the flat areas.


Now I really have to get the walls painted so they don't blend in so much!


I will eventually find them a new wall to live on because I have another plan for where they are currently. But for now, I'm happy with the switch from modern to rustic. 

Friday, March 10, 2017

I'm Baaaaaaaaaack!

The title to this post has two meanings. First, I'm back to the blogging world after a very long break!! We had a super busy year with a job change, house Reno, new baby and move to a new province. I am just finally feeling settled in our new house (though we haven't finished decorating and have a basement to finish still) so I decided it was time to get back to this little blog project of mine!
The second meaning for the title is that we just got back home from a trip to Arizona! We spent 12 days visiting my husband's parents. We mostly just relaxed, swam in their pool or took the kids to the nearby park. We did make a day trip to the mini Legoland in Phoenix and my husband took in a baseball game . It was spring training.

Here are some pictures I snapped through the car window during our travels.


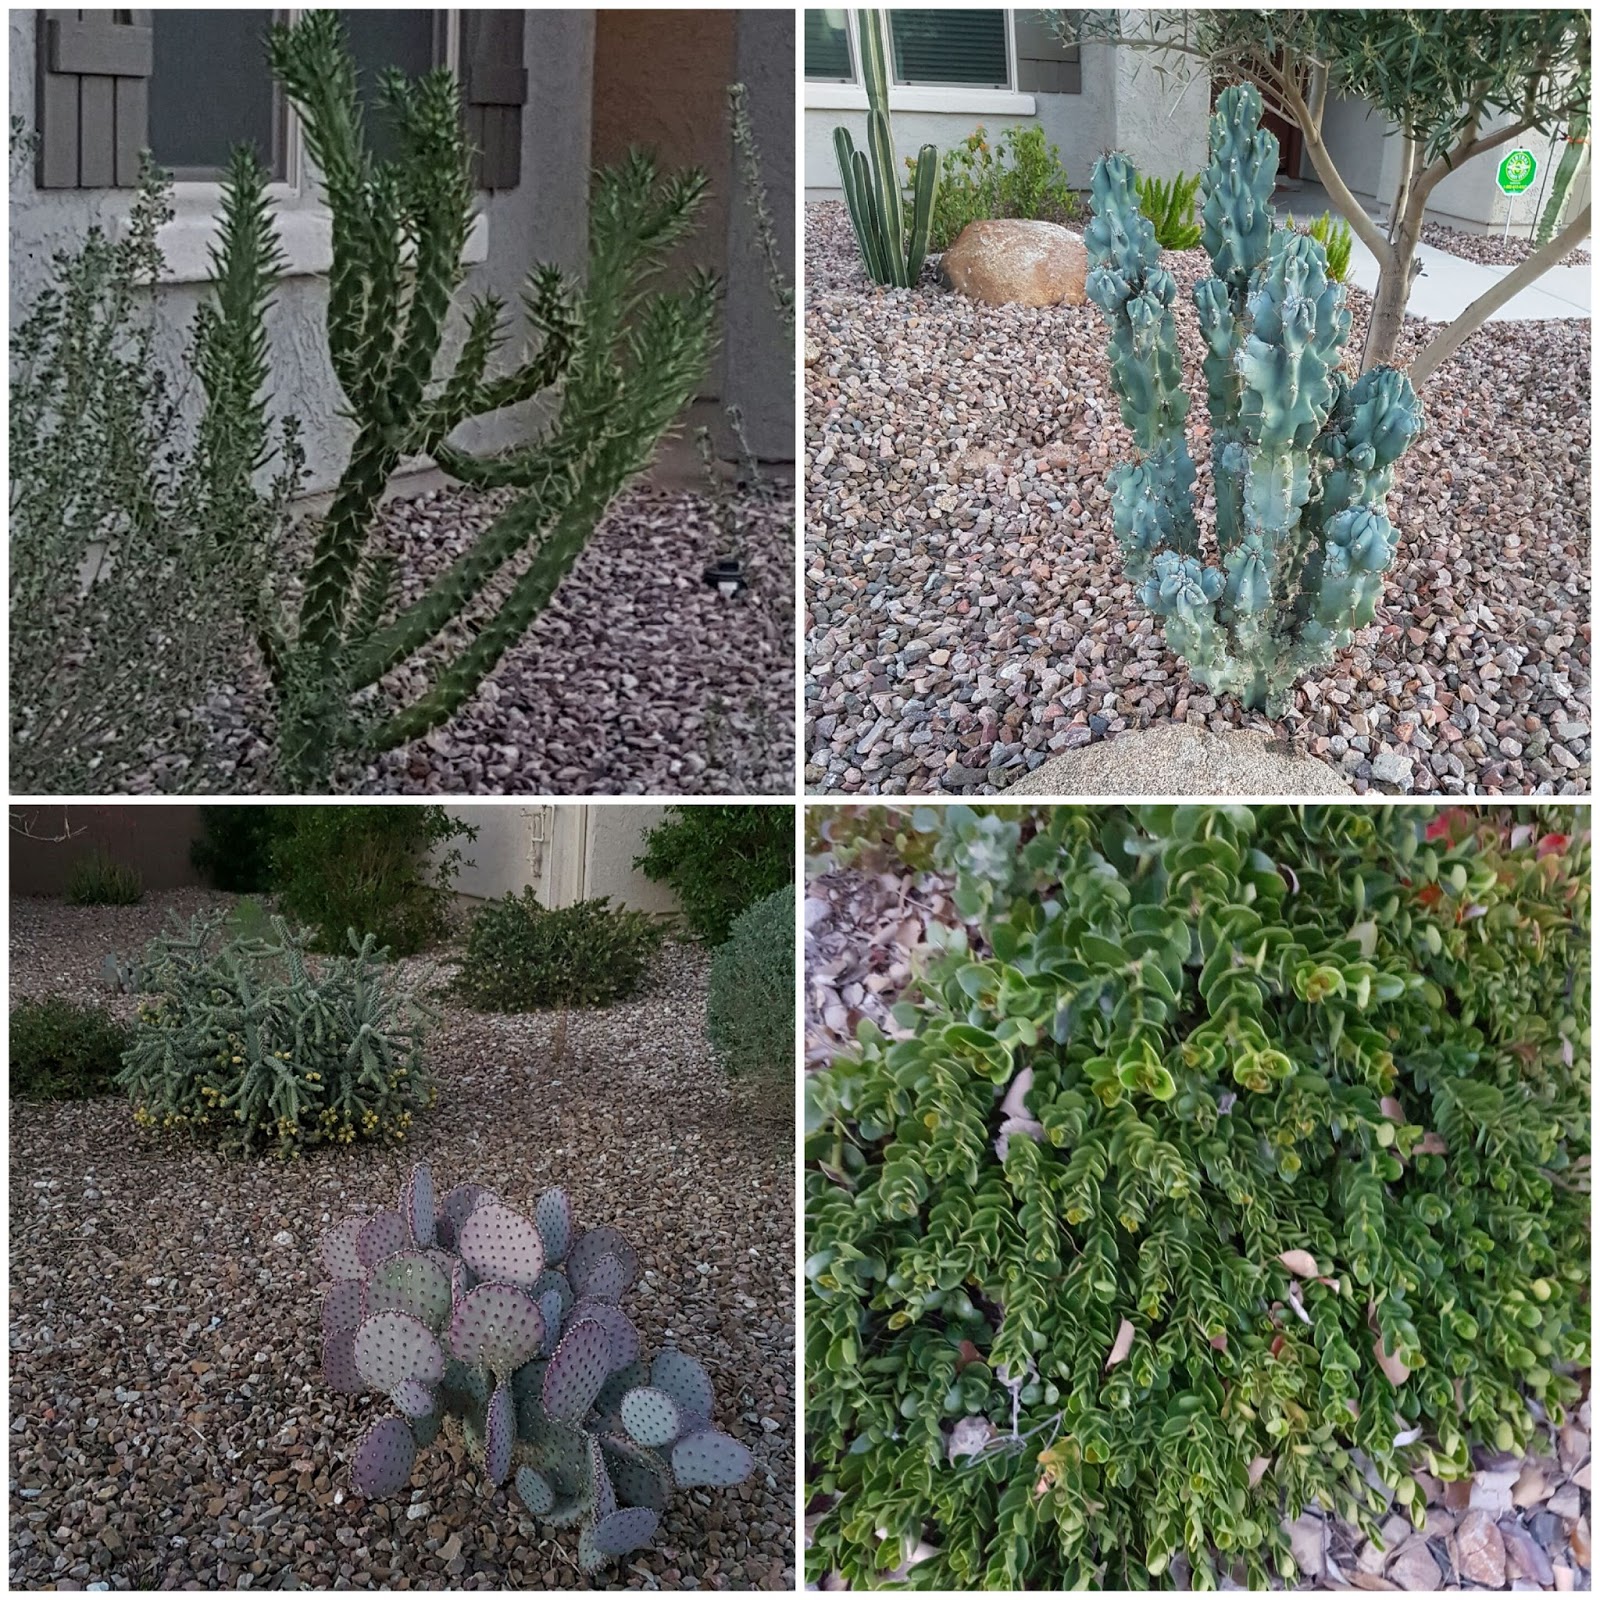
These pictures are some of my favorite plants I saw while walking around the neighborhood. Lots of different types of cacti!


 A few yards had their cacti dressed up in sun glasses.


View from the plane on the way there. Snowy mountains.


The Grand Canon seen from the plane window.


Our flights went really well. All the kids did great! We came home to a forecast of snow for 2 days straight. So far today the weatherman was right! Lol

Now that I'm back to blogging I hope to write some posts as I finish up decorating parts of our house! I hope you all have been well since my last post! 
Have a great weekend everyone!